
DIY: Easy Food Plots
No huge property or big farm equipment? No problem! You can plant a small food plot on a small piece of land using minimal tools.
You are just a garden rake or small garden tiller away from having your own little food plot to hunt over next fall. Find a location that gets three to four hours of indirect sunlight daily and grab a bag of throw-and-grow seed to get started on your own food plot.
With just a little bit of land, here are the steps required to put in a small food plot with basic tools.
Choose a Site
On a small property, potential planting locations are likely limited. Look for existing clearings or virtually anywhere that the sun reaches the forest floor. If you can’t find locations like that, creating a path for the sunlight might be as simple as sawing down a small tree or several limbs. You don’t need a very big area. A space as big as a bedroom could make a nice little plot to shoot a doe or young buck over if you’re trying to get some hunting experience under your belt and meat for the freezer.
Tools and Site Prep
Once you’ve chosen a site, gather up some tools and prep the site. Without a tractor or four-wheeler, you can round up a few hand tools. You might already have what you need in your garage or garden shed. Seeds such as Whitetail Institute’s No-Plow and BowStand require only seed-to-soil contact.
Start by clearing away brush using a weed whacker. Pick up sticks and rocks and throw them off the site. Then, rake or till (small garden plow needed) the leaves to expose the soil. If there are lots of weeds, consider spraying them with an herbicide prior to clearing the area.
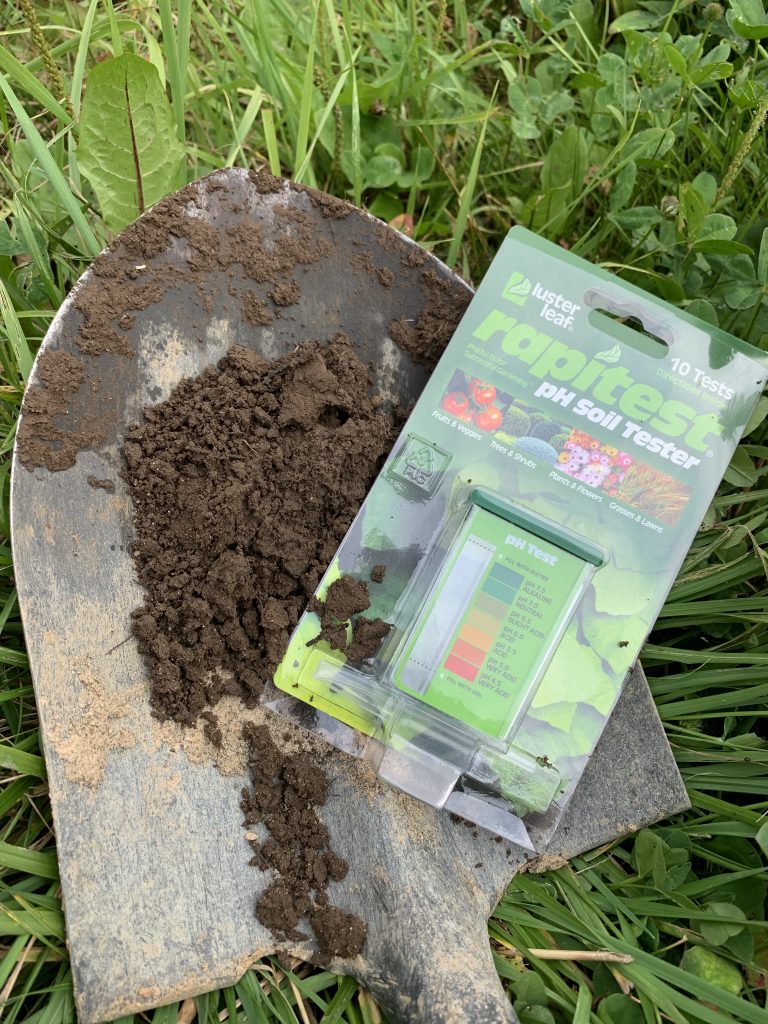
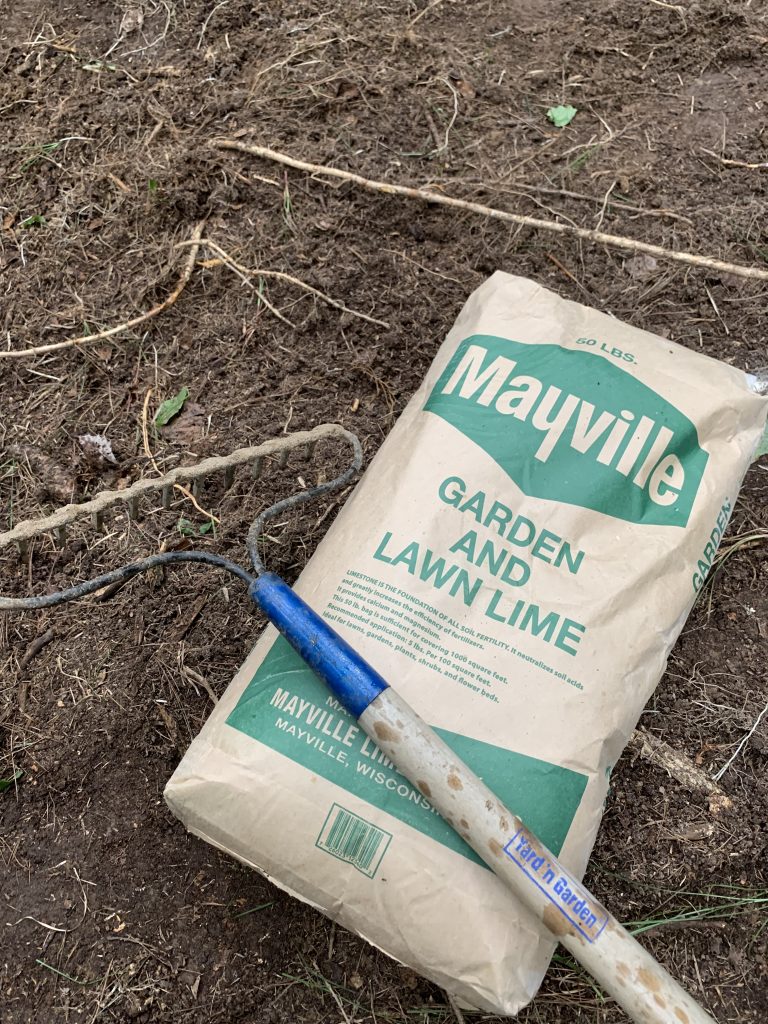
Before you plant, pick up a soil test kit from a local farm or garden supply store. The seed blends mentioned above grow best in soil with a certain pH level. Upon completing the test, you might find that the soil needs some lime (made from limestone rock) added to it, which is available at farm and garden stores, to adjust the pH.
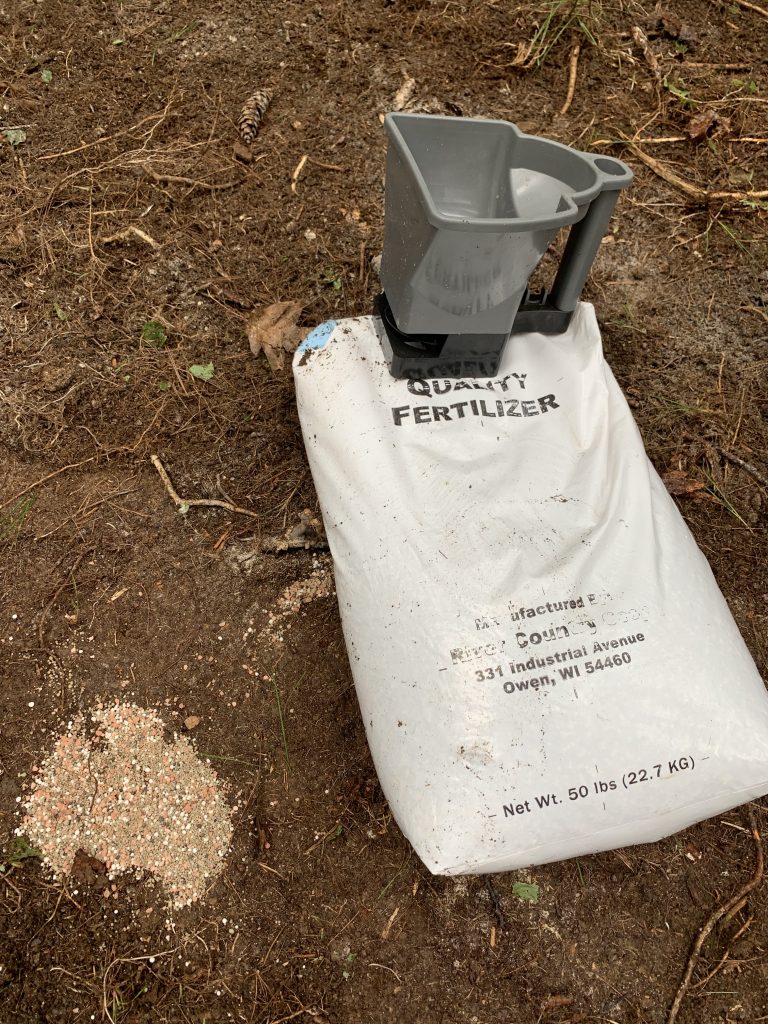
If your soil requires lime, apply it over the exposed soil and try to work it in with a rake. BowStand and No-Plow also grow best with a fertilizer. Whitetail Institute suggests 17-17-17 fertilizer. Full instructions for lime and fertilizer are available on the seed bags.
Plant!
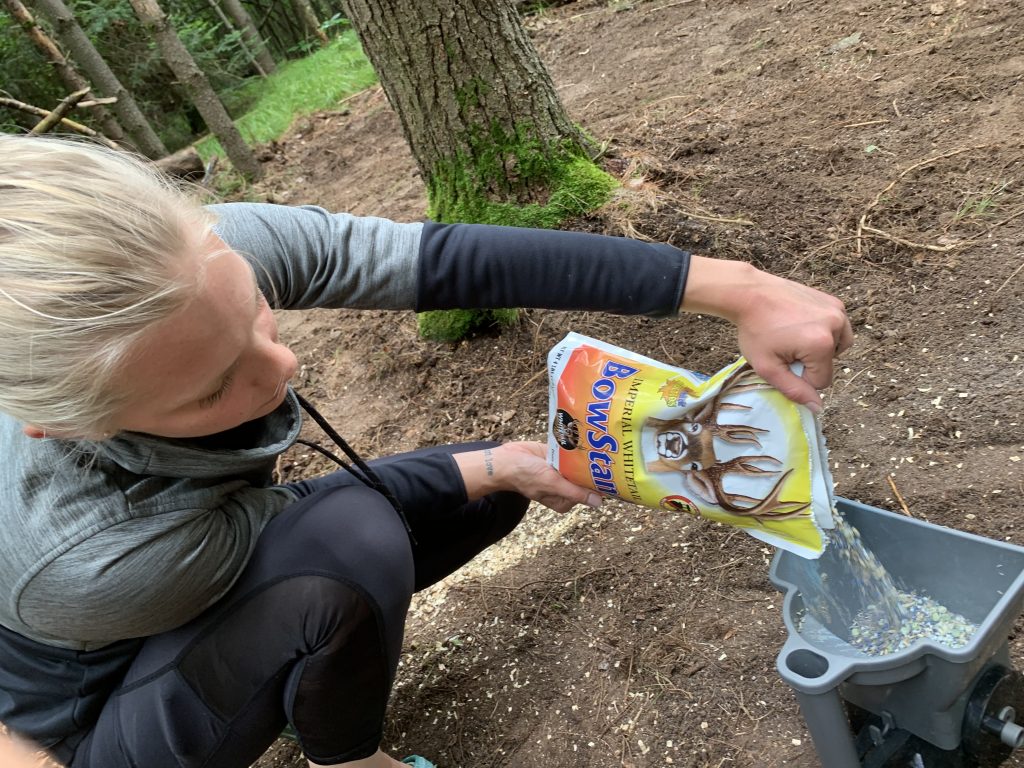
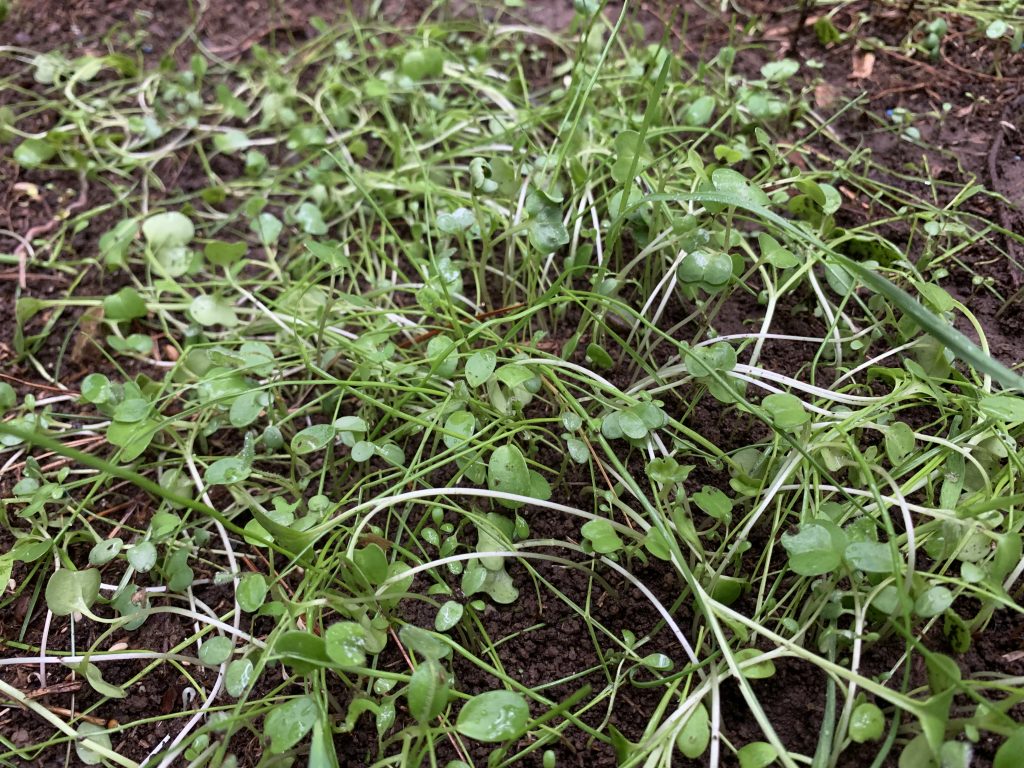
Next, broadcast the seed according to the seed bag’s instructions. Then, pray for rain. If the little plot is within reach of several garden hoses, you could water it with a sprinkler, but that isn’t always possible. Germination happens pretty quickly after some rain, and before you know it, the plot could look like a small version of what you’ve seen on TV.
Plot
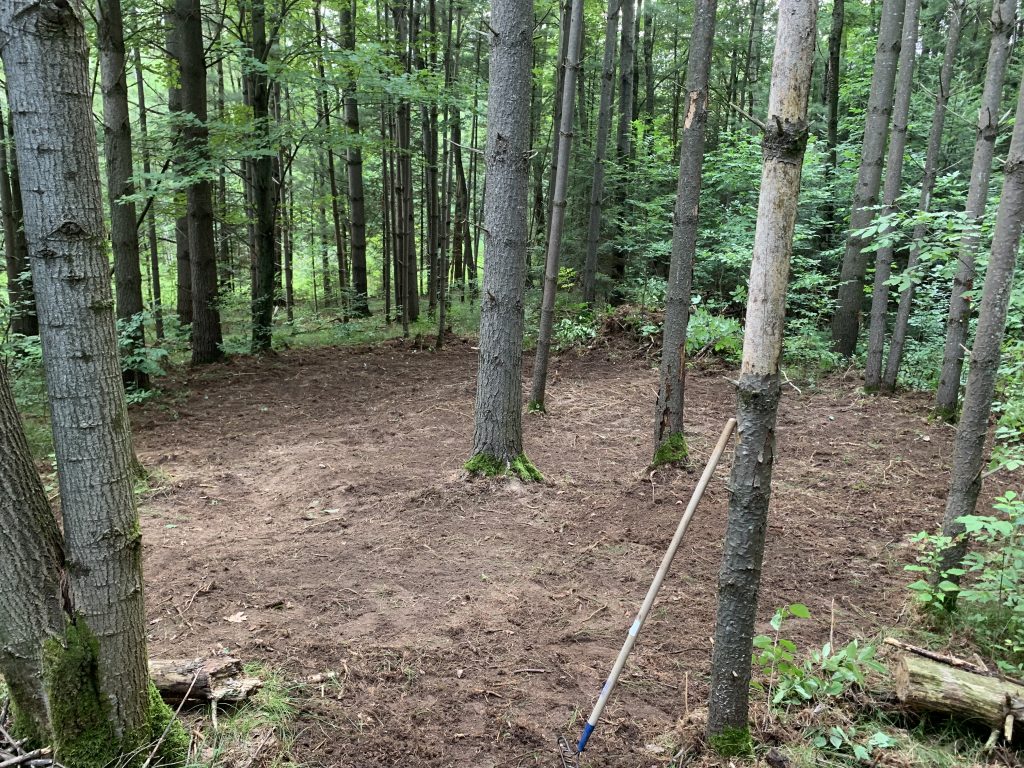
1. Consider putting in a small food plot in an area that gets three or four hours of indirect or filtered sunlight.
2. Always test the soil before planting.
3. After doing a soil test, you might find that the soil pH needs to be adjusted with lime.
4. Reference the seed bag and follow instructions about fertilizer application.
5. Throw-and-grow seeds such as Whitetail Institute BowStand can grow with just seed-to-soil contact. In some cases, you can expose the soil with nothing more than a garden rake or small garden tiller.
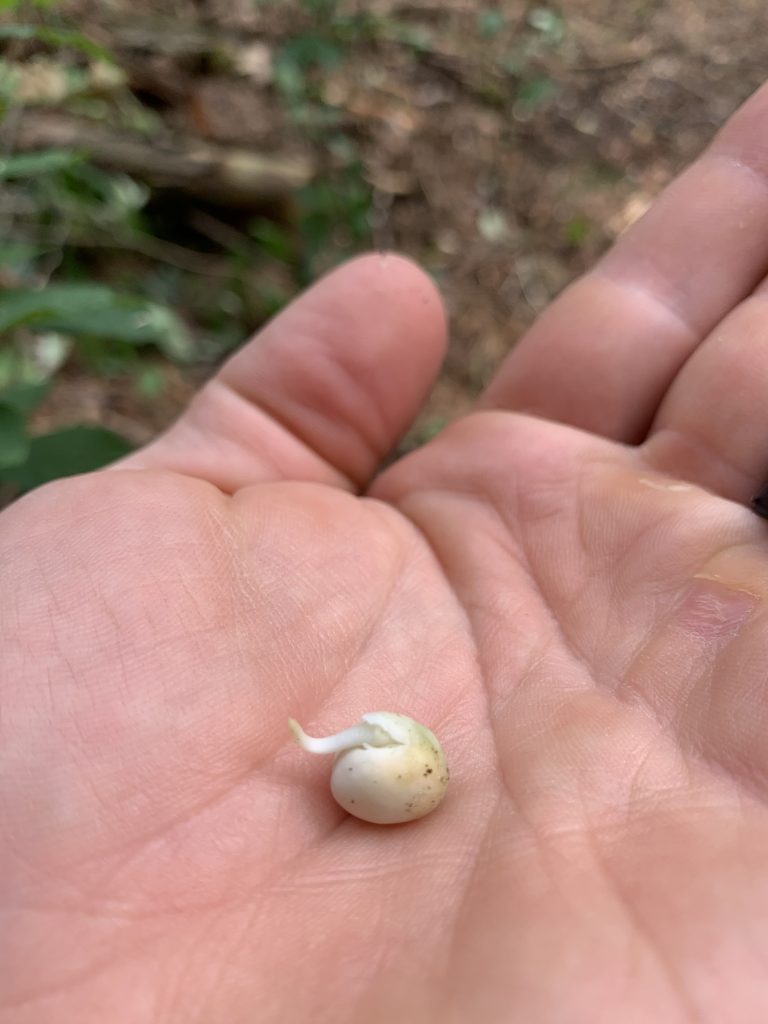
6. Germination happens fast after the seeds absorb moisture from rain.
7. Watching your plot grow is fun and rewarding.
CONNECT WITH US
National Wild Turkey Federation
770 Augusta Road, Edgefield, SC 29824
(800) 843-6983
National Wild Turkey Federation. All rights reserved.