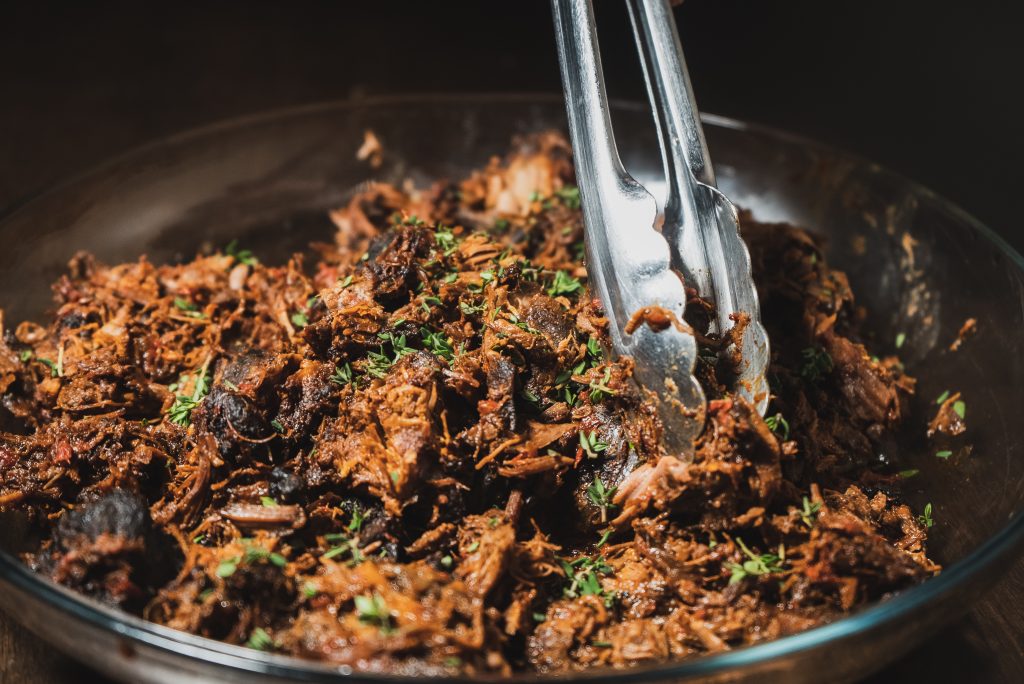
Tomato-Braised Venison
If you’re fortunate to have wild red meat in your freezer, hearty braised venison is a great way to beat the winter chills.
Braising has become my go-to technique for cooking all sorts of wild game. The “low and slow” part of the process, combined with a shallow bath in some type of liquid, helps to break down any cut of meat while retaining moisture. Braising is ideal for tough cuts, such as deer shanks or gobbler legs.
I pulled out a pronghorn roast from my freezer one morning, with full intentions of creating a fancy new braise in time for dinner. Work e-mails and conference calls plagued me, and soon I was out of time for a trip to the grocery store. The only downside to braising is that it requires plenty of time and patience.
Digging through my dismally stocked cupboards, I scraped together a collection of … thoughtful … ingredients that turned into this rich and delicious braised venison recipe. The reduction is sweet and tangy. And I’d bet you’ve got most of this stuff on hand for when you end up in a pinch.
Ingredients
- 1 large cut of venison (2-4 lbs.)
- 1 28-ounce can whole peeled tomatoes
- 1 10.75-ounce can tomato soup
- 1 10.75-ounce can cream of mushroom soup
- Balsamic vinegar
- Worcestershire sauce
- Butter
- Kosher salt
- Ground black pepper
Instructions
- Salt and pepper venison and let it reach room temp.
- Brown all sides of venison in butter over medium heat in a deep cooking pot (I use a small legless Dutch oven from Camp Chef). Tip: If the meat is boneless, pound it out so all surfaces are even before browning.
- Combine in a large cooking pot: tomatoes, tomato soup, and cream of mushroom soup with a dash of balsamic vinegar and Worcestershire sauce. Mix evenly.
- Add venison to the pot and cook, uncovered, in a 300-degree oven, turning frequently. Add water as needed to keep venison submerged approximately halfway.
- Remove when venison shreds easily with a fork. Depending on the cut and thickness, this will take anywhere from 3-8 hours.

